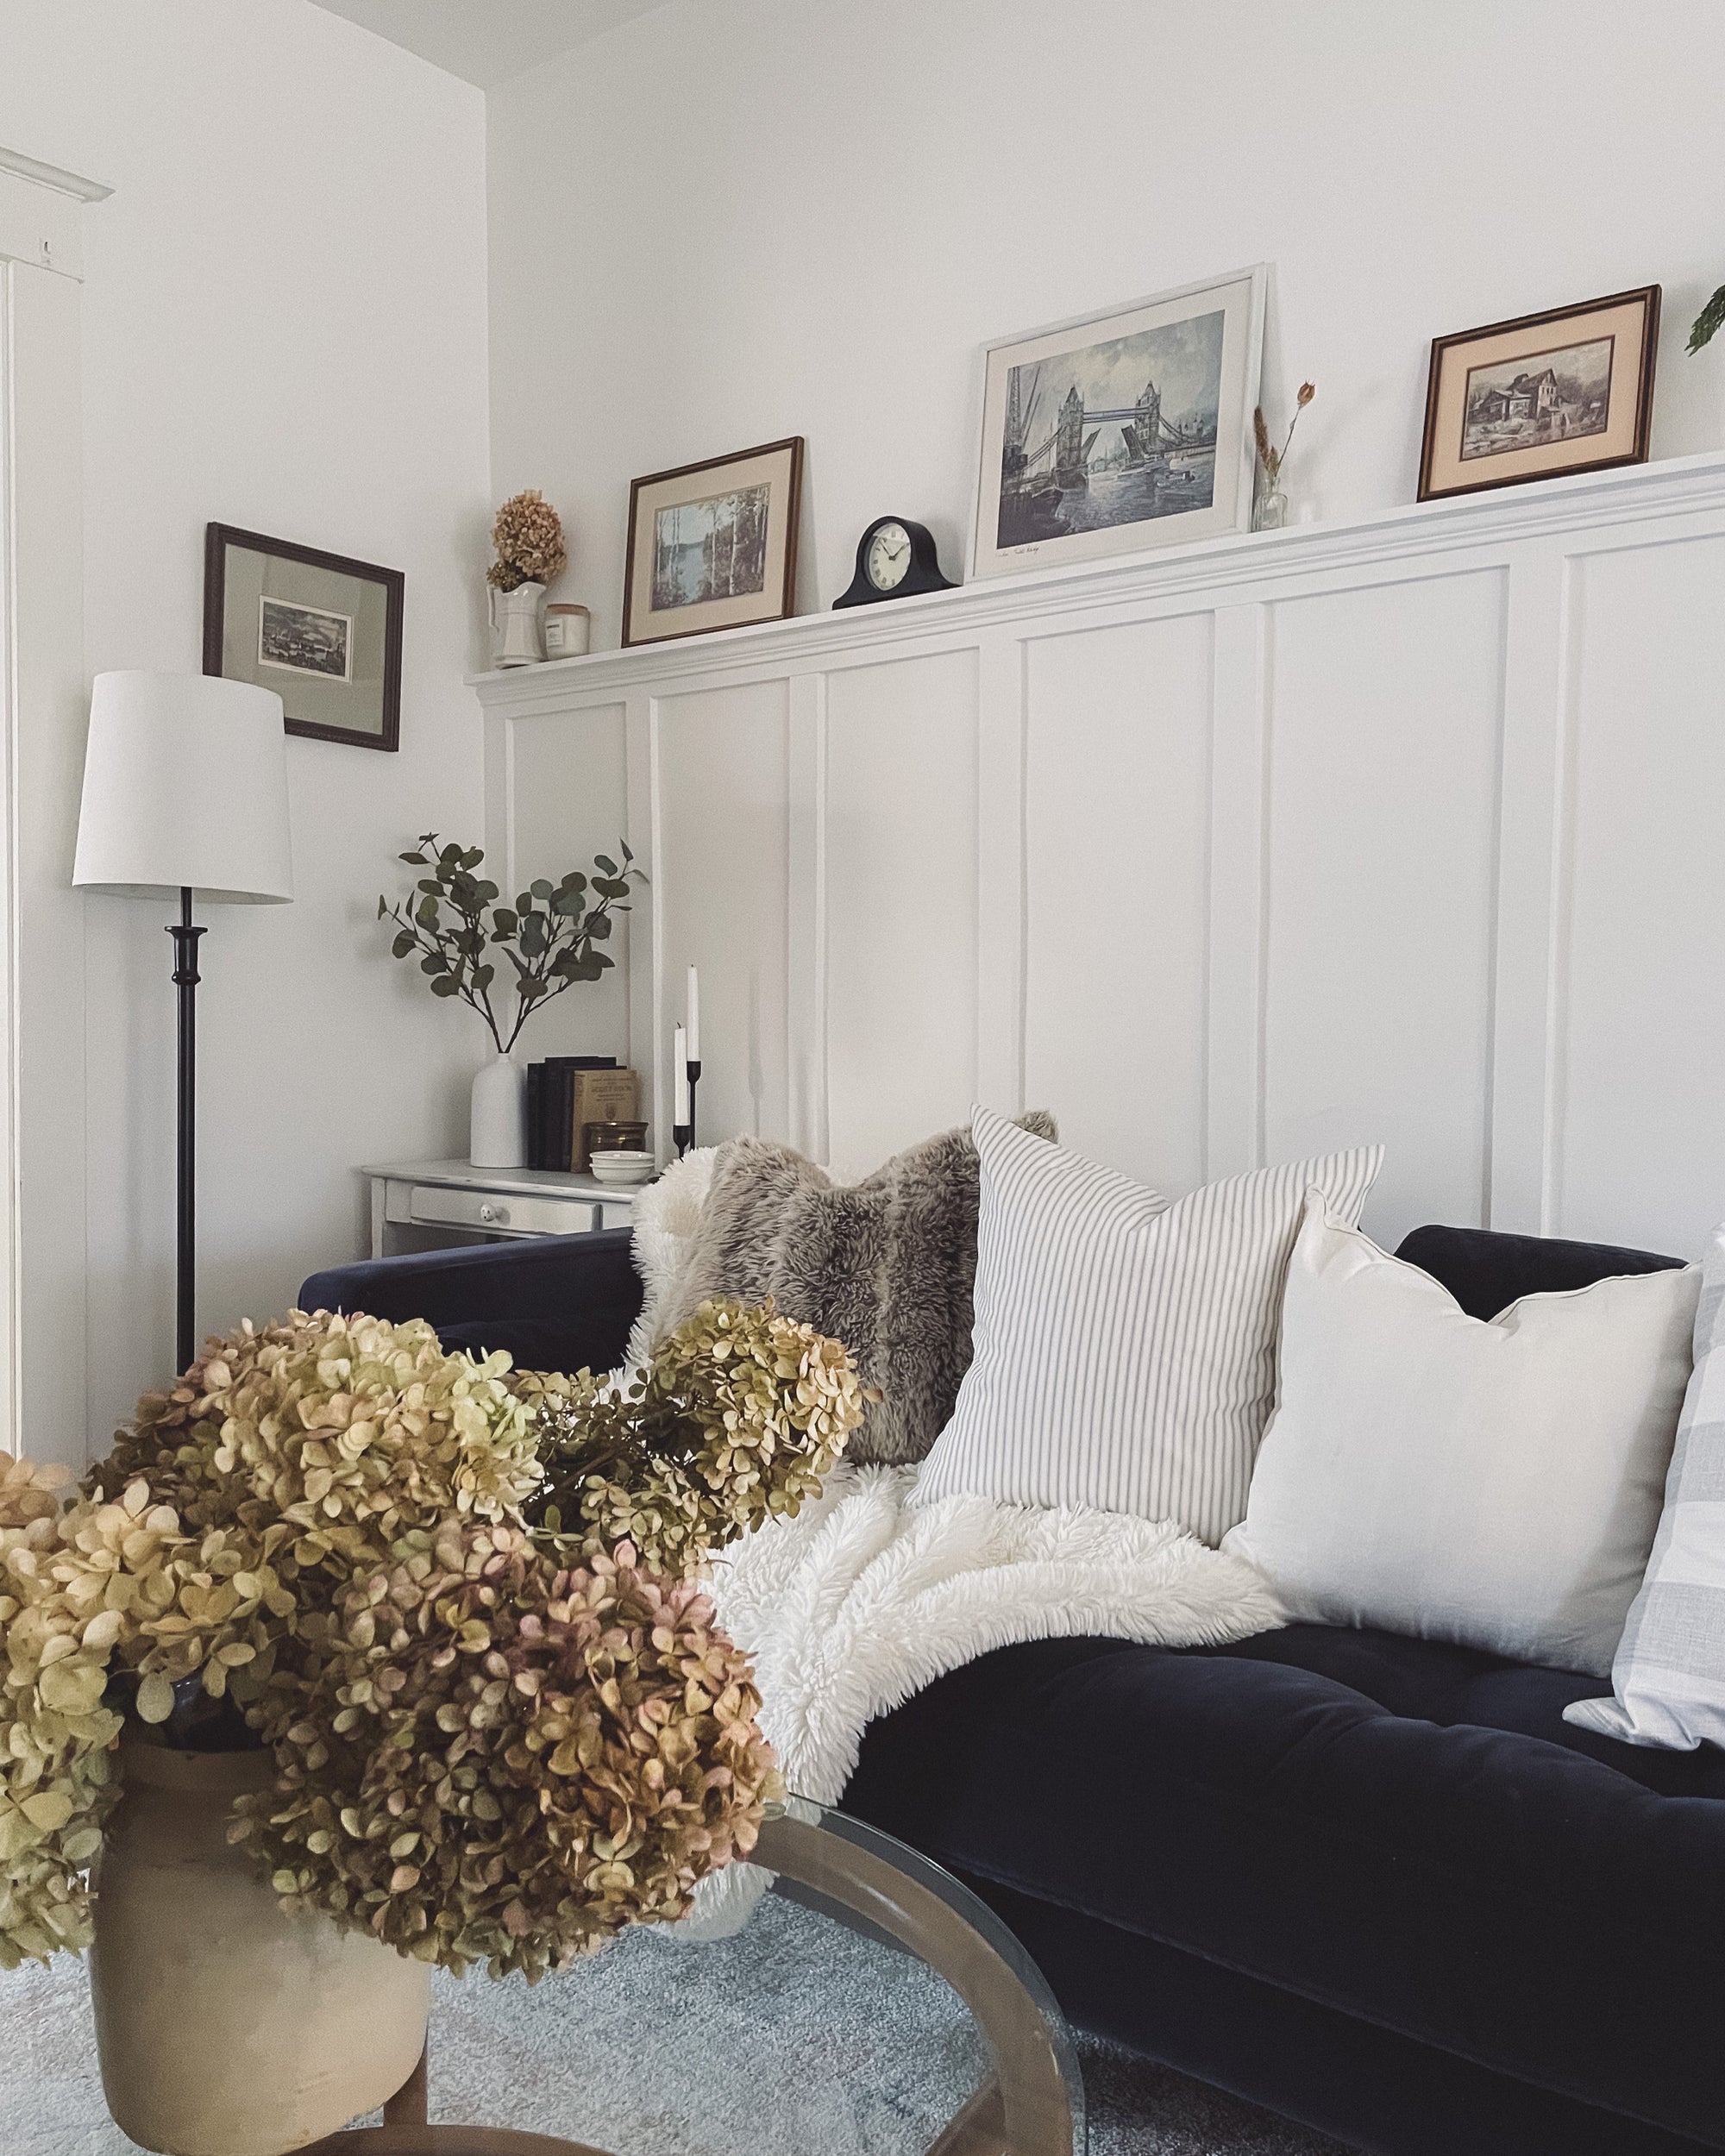
So today we're talking all about board and batten and how easy and effective it is at adding character to boring walls in your home.
I love this technique as an accent wall or the entire room - both work great.
You can add it with or without pegs and you can paint it a colour or leave it white. The options are endless! It even looks great to break up pattern wallpaper in any room.
Our entryway is one of the most photographed and liked rooms in our home. Its very popular over on Instagram and I always get asked how I did it and what materials I used. So here's all the juicy details in one spot!
Materials Needed
It's easier than it looks, I promise!
You will need:
1. lumber - we used 1x3 primed MDF planks. But if you want wider boards you can also go with 1x4s as well. We used MDF but any lumber will do as long as it is milled - not rough. We made the mistake of using rough wood in our entryway and then primed MDF in our living room and it made a world of difference. The MDF is easier to work with and paints and caulks must simpler. untreated wood will result in shrinking as the wood dried and even sap leaks.
2. Trim Caulking
3. Brad Nailer and nails - we used 1 1/2" nails
4. Adhesive - any premium construction adhesive will do.
How to Design & Build
The rule of thumb is 2/3 of the wall should be the height of your board and batten but please 'eye ball' it so to speak to make sure it looks right in your room and with your ceiling height. We highly recommend mapping it out with tape for the rough positioning and then drawing it out with pencil for the precise positioning.
Once you figure out how high you want your battens to sit on the wall and how many vertical battens you want -the first plank you will want to put up is the plank that runs across the top - then you put on the vertical battens.
Cut the vertical boards to size, apply the adhesive to the back side of the board and stick them on the wall. Once your boards are up use your brad nailer to nail the boards to the wall. you can go one board at a time to ensure precision. Use a level or pre-draw your lines to ensure your are positioning your vertical boards straight to the wall every time.
Once that is done you can move on to the top shelf. For that you can use the same planks you used for the rest of the wall. The shelf is adhered and nailed to the top plank that runs across the wall.
Once the above steps are complete, fill in all our nail holes - caulk the exposed seams - and paint.
Finishing Details & Paint
Pegs and extra trim moulding are two ways to finish and add further detail to your board and batten wall.
In our entryway we used the colour Mountain Air by Benjamin Moore and added wooden pegs between each batten. It gave the space functionality and made it more casual and inviting.

In our living room we used the colour Chantilly Lace by Benjamin Moore and added trim moulding under the top shelf to give it a more elevated and sophisticated finish.

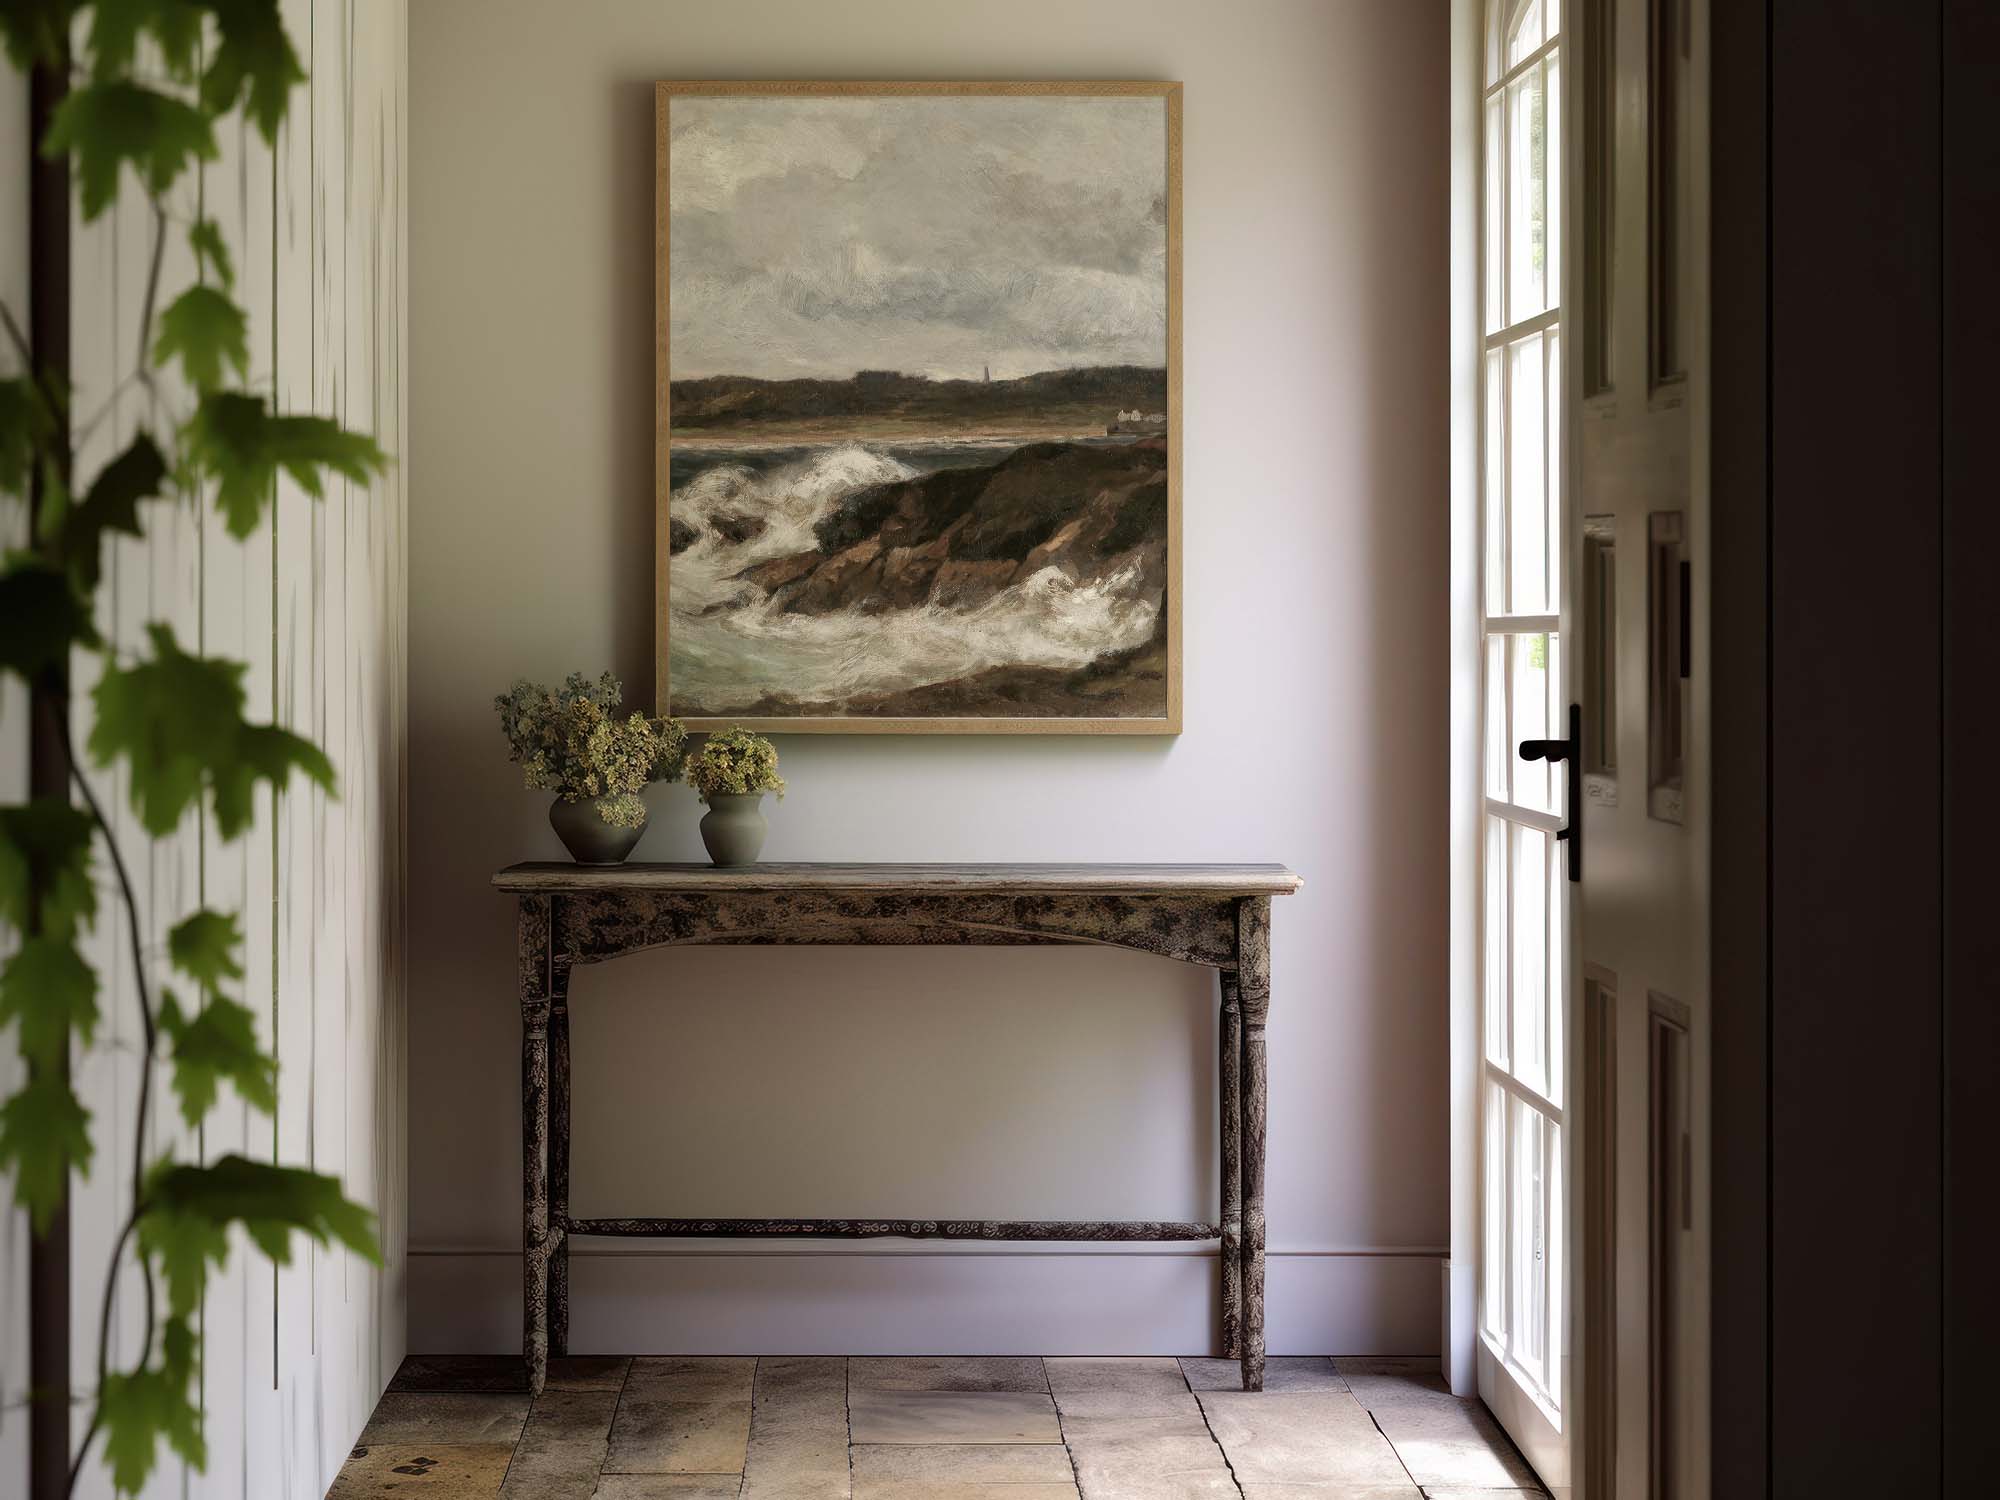
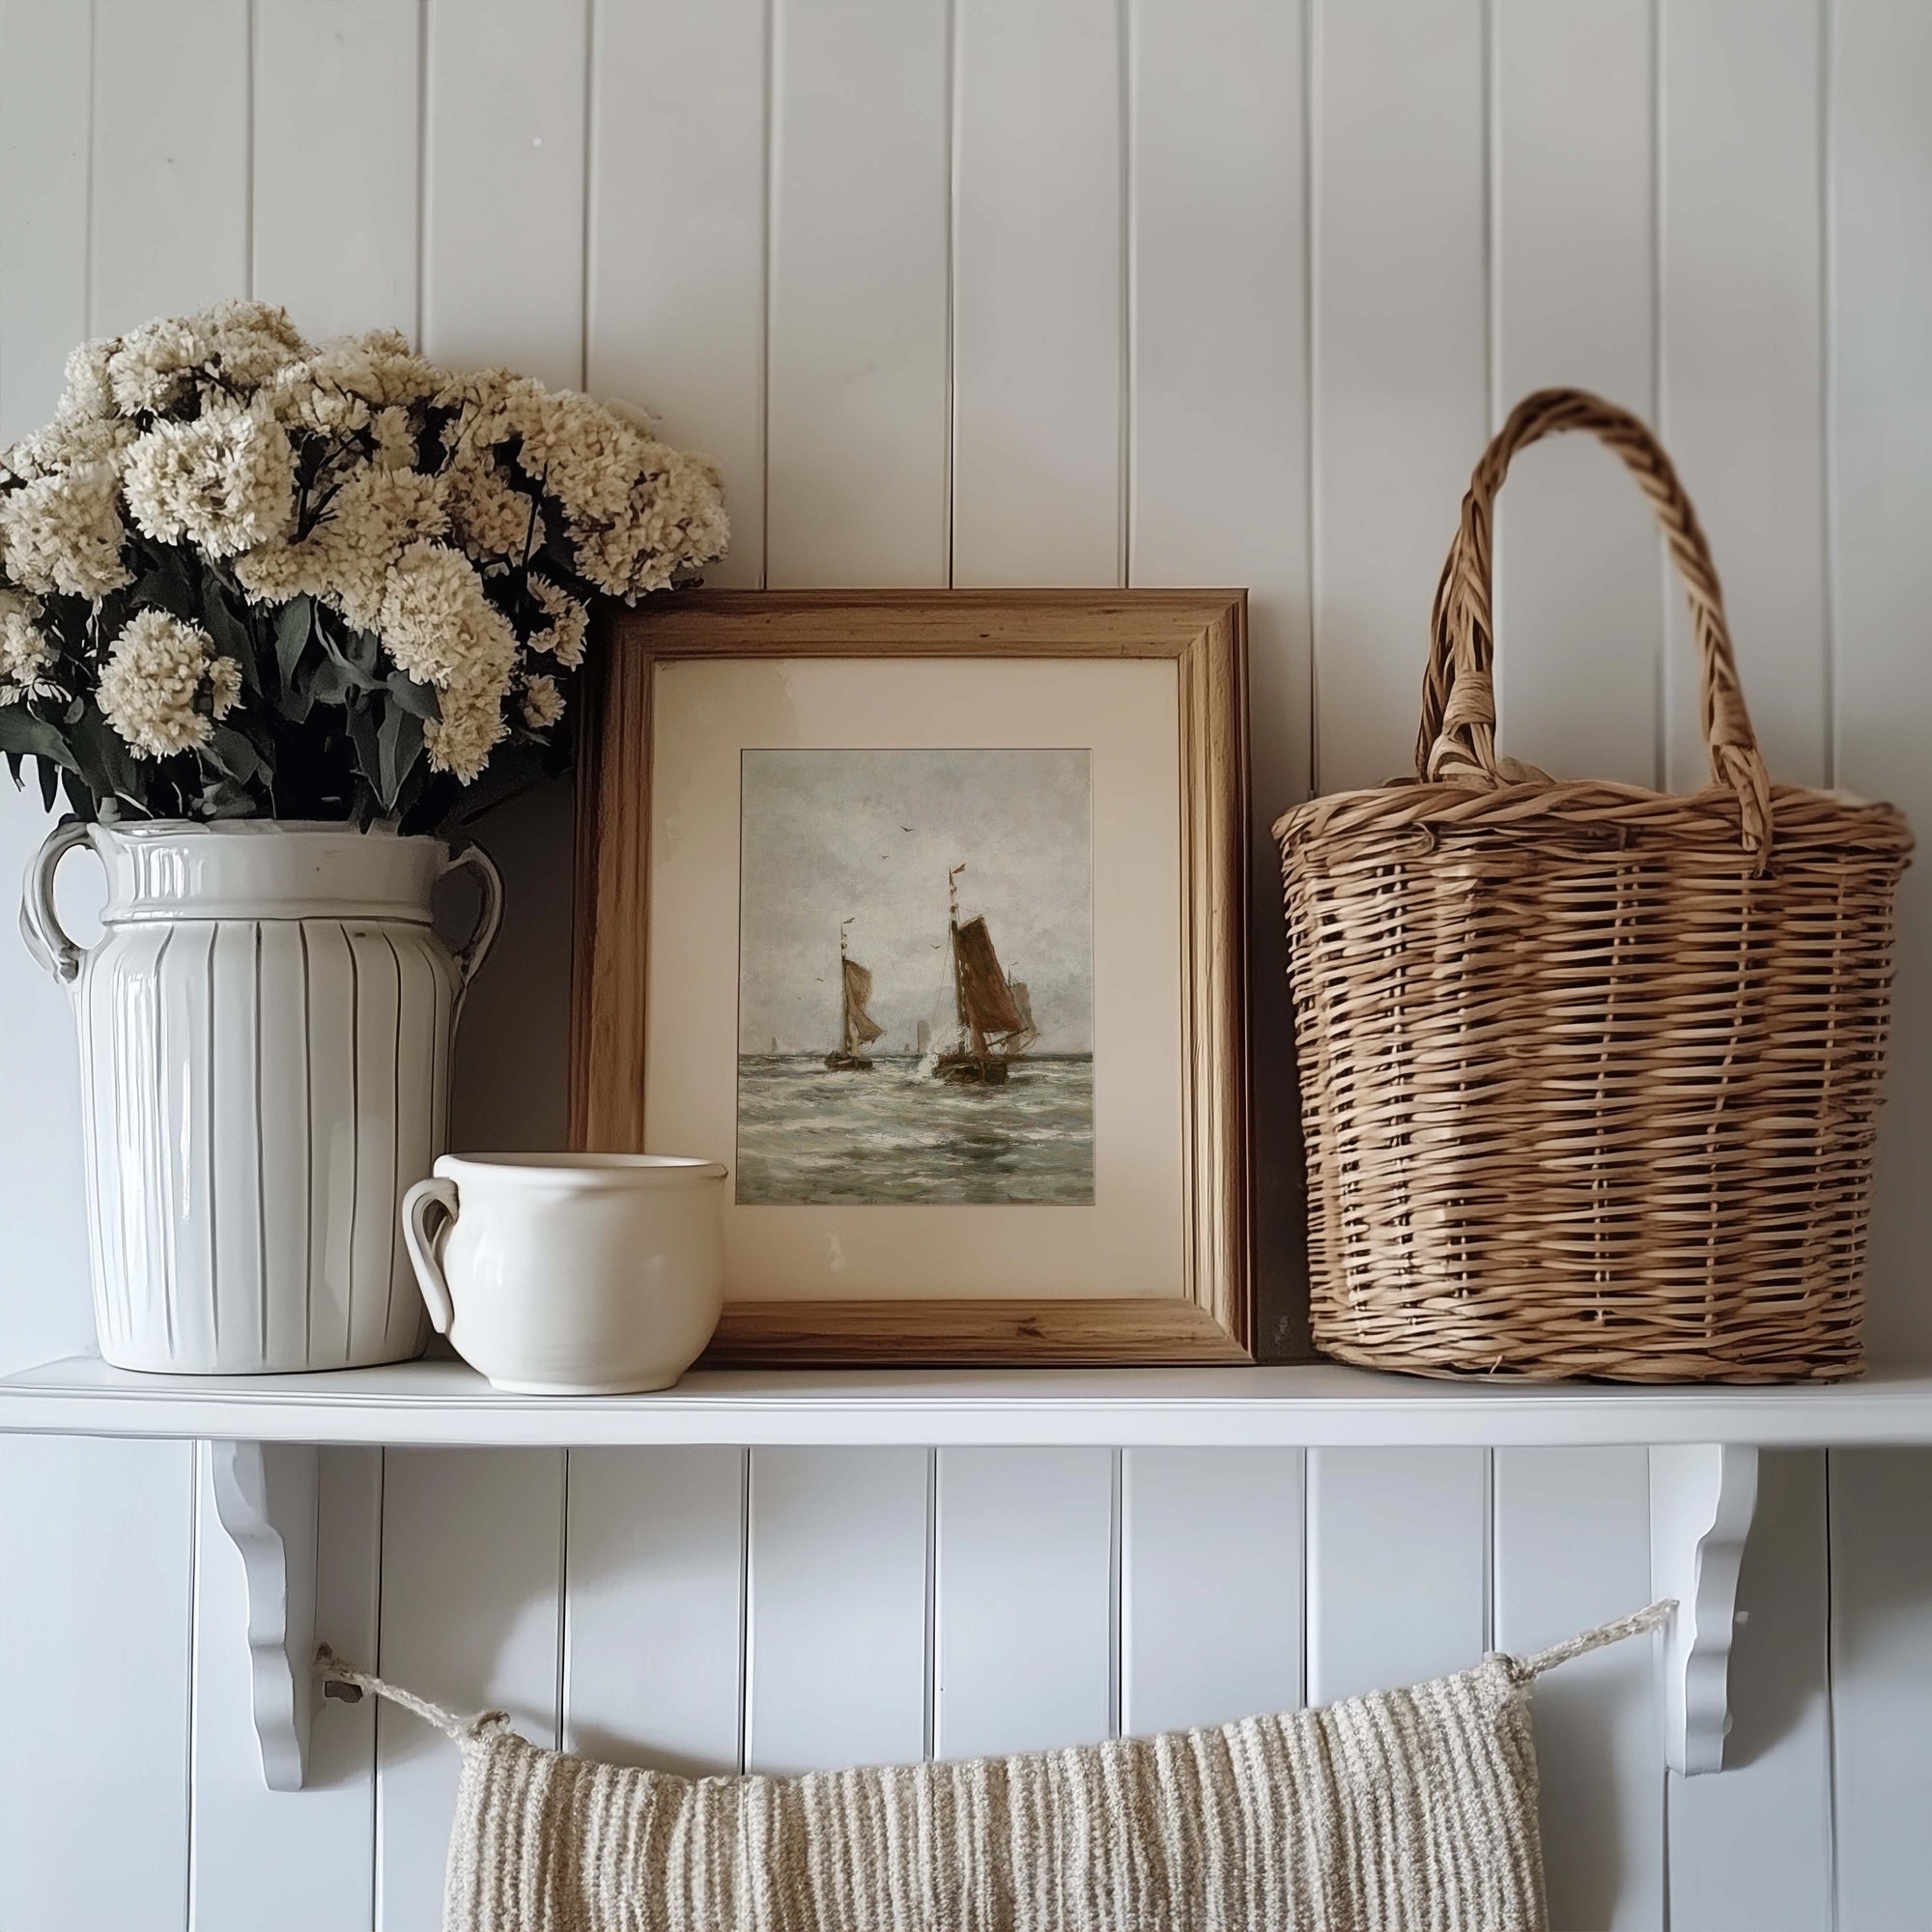
I love adding artwork to the top shelf in both spaces year round to make the space look collected and intentional.
It also makes for easy decorating during holiday season.


Any that's a wrap!
We hope this inspired you in some way and took some of the intimidation out of your project.
Remember, when in doubt tape it out. And once you have the rough idea laid out, it makes each step listed above that much easier.
Happy DIYing,
Britt

